
As I mentioned some time ago, my 175 Campera came with a very old Amal carburetor. It really was not interested in idling and acceleration usually brought forth a lot of stumbling which took a while to clear. It started well from cold, but was entirely disinterested in starting when warm. Apparently this set-up was originally intended for a Mercurio which had a 25% larger displacement. I love the bike but the Amal was in the way.
Solutions are available. In this case I simply did an ebay search for carburetors for a DT 175 Yamaha and this little beauty turned up. The results naturally included genuine Mikuni's which were priced in the $100+ range. This one was $26.00 plus shipping. I bought two with the thought that I might want to use the second one for my TY 175. I have to admit that the machining is not up to the standard of a Japanese Mikuni and the general fit and finish is clearly one step below the original.
Mounting this carburetor to the Bultaco really was not a big deal once I figured out where to get the right pieces. There are lots of rubber mounts available to fit a Mikuni carburetor to the Amal mounts, but they are sized for the larger Mikuni's. These rubber mounts are obviously intended for the larger British Twins and Singles. The mount this carburetor to this smaller bike I had to source pieces from Speed and Sport which is a United States supplier. I would expect that these similar pieces would be available in either the UK or Australia. Below is a photo of the pieces necessary.
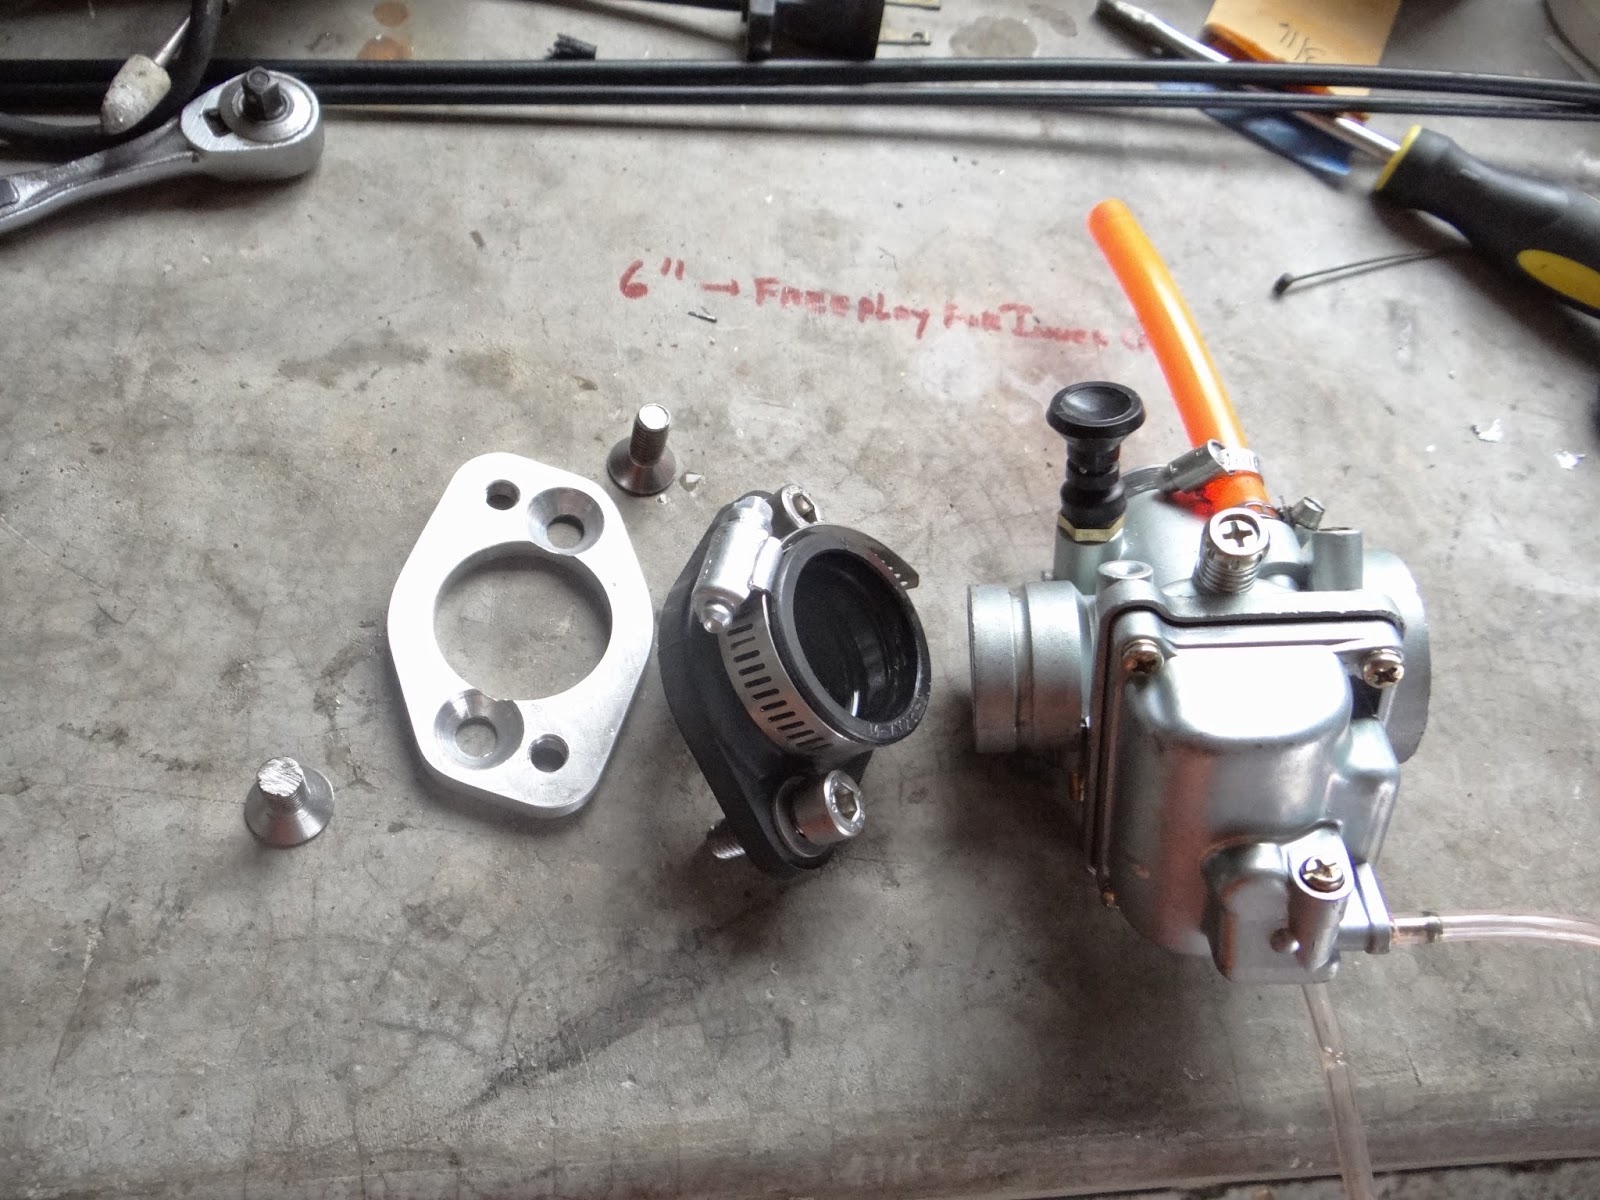
I had to source the nuts to make it all work. I needed two M8X1.25 machine screws to attach the alloy adapter plate to the original manifold and then two more M8X1.25 socket head bolts to attach the rubber adapter to the alloy plate. Not overly complicated if you can figure out where to get the pieces.
One last complication with this carburetor is the longish cable guide which comes out of the top of the carburetor and is intended to guide the cable into the body. This guide is threaded but it has no mount for the throttle cable itself. If you have a lot of old carburetors around you may have a receiver for the cable guide, otherwise you are back on ebay trying to find the right words to do a search.
The final hurdle is the throttle cable itself. The cable guide is unusually long and so you will probably need to shorten the outer throttle cable a couple of inches, or you will have to make your own. In my case I got a throttle cable kit from Venthill (which is UK based, but has a U.S. distributor) and made my own. Making your own throttle cable is not easy. It is not something that can be done with a hacksaw. These cables are incredibly strong and will only yield to something mounted on a Dremel tool. One more word of advice, do not ever solder in your bare feet. Don't ask.
The carburetor completely transforms the bike. It idles, apparently forever...even on the sidestand. It accelerates cleanly and returns promptly to idle when you release the throttle. Unfortunately, it is not interested in starting...either cold or hot...so I have some work to do. Right now, I just have to squirt a little starting fluid into the carburetor and away it goes. I'll keep you informed.
No comments:
Post a Comment