Wednesday, May 28, 2014

Stop all engines...


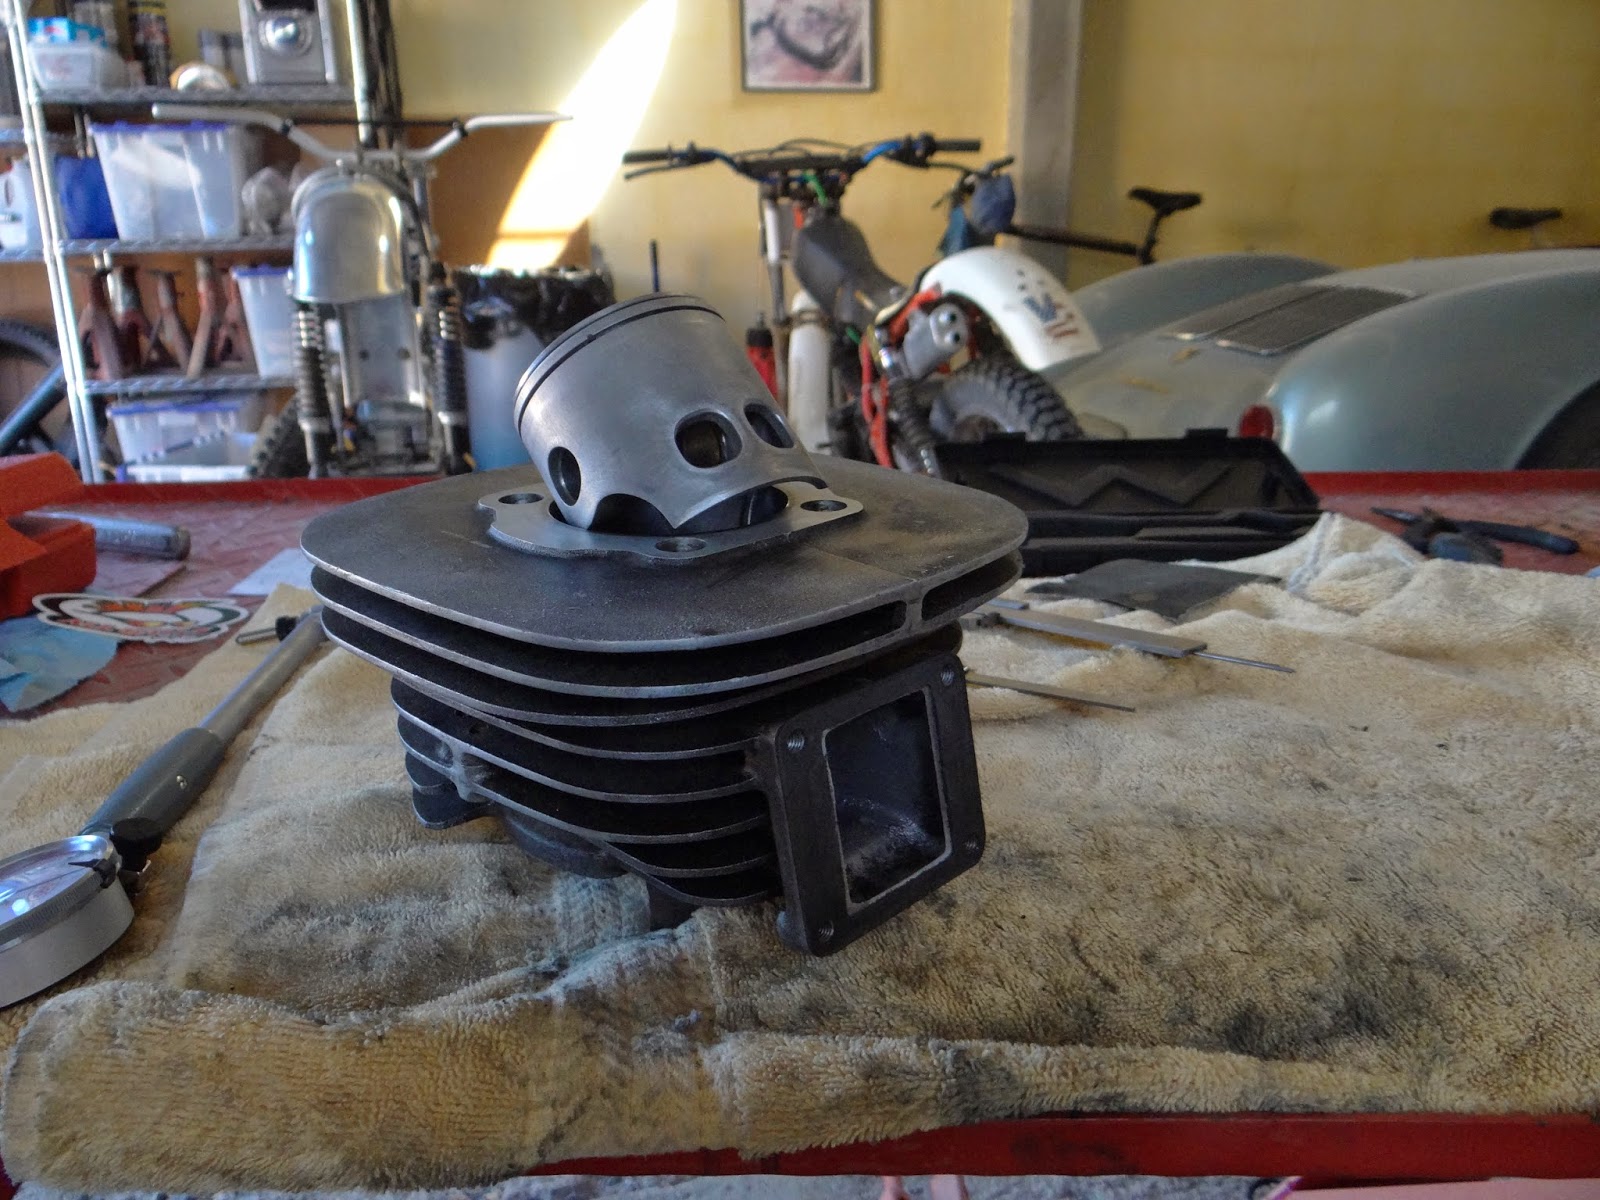
Earlier today I began to assemble the crankcase. It went together pretty smoothly up to this point. I managed to get the gears and the selectors installed despite being handicapped by having only two hands and ten fingers. This really is a project for an octopus. I remember reading once that this could be more easily done if the gears and the selector mechanism were tied together with some light string before being assembled...then you would just remove the string once you had everything installed on the receiving crankcase half. May be next time.

The problem arose when I went to install the dowel and o-rings to the engine mounting points. When I re-read the instructions in my Hayes Manual I realized for the first time that the term "dowel" was plural. You are supposed to have two of the little buggers. I only had one. The last guy to get into this engine had apparently mis-placed one of them and simply put the engine together with only one in place. This was not a complete surprise to me. When I took the engine apart and while I was taking the rest of the bike apart I noticed that there were almost no washers anywhere on the machine. This TY has led a hard life. 

Next I need to find a source for a couple of dowels. First I will try eBay just because it is quicker, but if there is nothing there, I'll be back at TY Trials. It seems silly to have to ship a couple of little tiny pieces from England to Mexico, but if that is the only choice I will do it. 

So for now, I am back to cosmetics until these pieces arrive. Stay tuned.

Who doesn't like new gaskets???


The big event yesterday was the arrival of some new gaskets (above). Despite ordering two sets of gaskets from two different sources, neither source sent me the gasket for the crankcase cover which goes over and encloses the clutch/kick starter assembly.

Also arriving were some painting supplies. Both of my touch-up guns which were last used about 16 years ago had died in the interim. Both guns fired off thick globs of paint and a review of the instructions included with the guns told me to remove and clean a piece which was not removable.  Not a big deal. They only cost $29.00 twenty years ago, and they cost about the same now. So, now I have a new one. 


Yesterday afternoon I installed all of the new bearings. It took some force and some heat and some refrigeration, but they all went in without any particular drama. One of the things that amazed me was the condition of the bearings and seals that I removed. If I had just cleaned them up they would have been indistinguishable from the new pieces. In fact I had to take some care that I didn't mix them up on the bench. The new ones do feel a little tighter, and the seals do feel a little bit more supple, but I am not entirely sure that they all needed replacement. Next...the cases will go together with all the important bits inside....I hope.

Monday, May 26, 2014

There are so many, many, many ways to screw this up......


Finally all of the parts have come in from around the world. TY Trials provided most of the smaller pieces as well as a couple of tools and a throttle cable. All Balls Racing (now there's a fun name!) was an excellent source for the main bearings and seals as well as the swing arm pieces. eBay was a source for most of the generic bits like a chain, piston, rings, seals, stainless socket head bolts for the case, etc...Most of this stuff is common with a wide variety of Yamaha MX and trail bikes.

Now I have to put it together in a way which will allow it to run. No guarantees. As I mentioned above, there are so many ways to get it wrong. Fortunately, I've done this before and I have a general idea what to do in what order. Also, there is a lot of helpful literature which makes it almost impossible to get it wrong if you just take your time...resist the urge to rush and double or even triple check your work against the manuals (and common sense). I think that I have found one way to screw it up already....I can not find my 4th oversize rings. They are somewhere, but if they simply can not be found. I will get some new ones. They are not vastly expensive and waiting for them to arrive will give me a chance to go slowly and check my work.

Featured above are the crankcase halves and their respective bearings and seals...which are apparently the same as used on the Yamaha 250 and 350 racing twins. They should be able to hold up to the rigors of the occasional trail ride.


Here are most of the smaller gaskets, seals, lock rings, snap rings and other bits that I received from TY Trials. You really should replace these little buggers while your bike is apart. I have spent a fair amount of time relabeling this stuff as it comes in. These little pieces come with a Yamaha part number, but no further identification. It is easy to forget what is what. Anyhow, take your time and all will be well.

The piston rings found their way back into the fold, which meant that I had to play with them. I checked the end gap on both rings and found them perfect...so I installed them on the piston and did a trial fit. The main thing that I discovered was that the intake and exhaust ports needed to be chamfered. My Dremel tool was perfect. Next up is to install the bearings and seals....Can't wait!


Tuesday, May 20, 2014

Dave's Bully


Several months ago I discovered this treasure on Ebay. It was owned by a David Armstrong who was the President of the local vintage motorcycle group in the State of Washington. He had owned the bike for many years and had taken beautiful care of it. It is a mid-60's Bultaco Campera 175. I had owned a similar bike back in the 60's when I was in school (a Lobito 100). This is bigger, faster and way cooler. I really could not resist.

Getting this bike to my home in La Paz presented some challenges. First it had to be transported to San Diego and then my freight forwarding service had to bring it home...so to speak.


This is how it arrived. By the next day I was out and about on it exploring the beaches and dirt roads around our house. Within a week I was plotting some changes...you always have to make these things your own even if the changes are almost pointless. 

I first considered a new ignition system, but the existing system seemed to work just fine. After all, Sammy Miller won a lot of World Championships with this system. It always started easily, but the ancient Amal monobloc carburetter wanted to drown the combustion chamber if I did not exhibit almost perfect throttle control. So, a Mikuni is on the way. Watch this space.

Saturday, May 17, 2014

A Piston


Always learning, I suppose. Over the past several decades of working on engines, when it came time to install  a new piston I would just order the correct replacement piece and give my local machinist  the piston and cylinder and tell him the clearance that had been recommended to me. When I got it back, I would just set the end gap on the rings and put it all together. It would never occur to me to check the dimension of the bore, or the dimension of the piston or to even check on the clearance with a feeler gauge. I always assumed that the machinist had worked it out. As I have recently found out, this is not always the case. 

After my experience with this cylinder/piston I have changed my ways. In this case, the first challenge was to find a machinist here in La Paz that would do the work. A motorcycle mechanic who I trust told me that no one in La Paz would do a decent job. He recommended a machinist in Los Mochis (which is on the mainland) So, I dispatched the piston and cylinder to the recommended shop with instructions to bore the cylinder to achieve a clearance of .040-.045mm. The piston that I gave him was an OEM Yamaha DT forth oversize (67mm...theoretically). The cylinder came back bored to 67.020mm.  I was advised by the machinist to check the clearances and then sand the piston as necessary to get the correct clearance. As it turns out the piston was undersize (by about .025mm) up on the ring lands and oversize (by about .025mm) on the skirt. I am sure that is why he did not just bore the cylinder to 67.040mm. He knew that would not work.

So I spent a couple of hours patiently sanding and measuring the skirt of the piston to achieve the recommended clearance. It looks like the piston will have a bit over .050mm clearance at the rings, and the skirt will be right at .040mm.

I am still waiting for some parts and tools to arrive to put the engine back together. Meanwhile, I expect to get some more nuts and bolts delivered today which will allow me to do some work on the Bultaco...Oh joy!

Monday, May 12, 2014

Supply Lines


As the Germans discovered, much to their chagrin, supply lines are critical. In my case, my personal supply line extends northward to San Diego about 1000 miles over mainly bad roads. Virtually every piece which is going into this build is delivered to my doorstep by my freight forwarder which is located in San Diego, California.  

As the bike was coming apart I was making lists. Some stuff was very specifically TY 175. Other things were more common and available from a wide range of sources. As I started accumulating bits and pieces, I discovered a number of very helpful suppliers. 

For example these guys at Monster Fastener have a huge variety of metric nuts and bolts and washers which they gladly ship in virtually any quantity. This is a USA based business so this may not be a helpful link for guys in New Zealand, but for those of us in the Colonies these guys are helpful.

Another provider that I have used is Pro Bolt. They have all of the cool drilled washers, alloy nuts and bolts, titanium fasteners, etc....All of the jewelry that may or may not be appropriate for a trials bike. These guys are UK based, but they have a USA distributor. They also promptly fill orders and ship the stuff out. Unfortunately, the prices are eye watering, especially if you linger too long in the titanium section of the catalog. But, where else are you going to get purple drilled alloy washers???

For bits and pieces which are specifically TY related, I have had good luck with TY Trials. These folks are UK based, but they have a lot of stuff which just is not available elsewhere. Everybody has pistons, but not everyone has lock washers for the front sprocket. 

One more supplier worth mentioning is Speed and Sport. Matt is a USA based company and they have been supplying parts to vintage racers for a very long time. I got parts from them twenty years ago for my BSA B50.

As of this dated just about everything is in place. Some machining is to be done and some welding, and then it will go together quickly....but not too quickly. Somethings really should not be rushed, as I discovered with the crank. See you in a couple of days.

Saturday, May 10, 2014

Do Not Ever...Ever...Ever pound on the end of the crankshaft


The bits on the left are probably worth more that the larger lump on the right...particularly after   
I went to work on it with a hammer. Actually the problem was two fold. First I allowed myself to get caught up in an ill advised rush to complete a job which really did not have to be completed in the next minute or so. The second problem was more mechanical than mental. The main bearing on the magneto side was firmly attached to the crank, and it was just as firmly attached to the crankcase half. Instead of thinking about the problem (may be some heat???) I just started bashing away with a hammer.

I did manage to free it from the crankcase half, but the bearing remained firmly attached to the crankshaft. After reviewing my options with the guys on Trials Central Forums, I was informed that a tool existed which was designed to deal with this situation. It is called a large bearing separator.

Next, I had to deal with the trauma that I inflicted on the threads on the magneto side. My bashing had curled over and obliterated the first few threads and had created a mushroom effect  on the end of the crank. I used a dremel tool to eliminate the mushroom effect, and then it was back to ebay to look for a die of the correct size. I was able to figure out that the correct size was 12X1.25mm. Mainland China to the rescue, so now I have this size die as well as a fairly complete set of taps and dies from the same supplier. Using the die was pretty straight forward.

So...lesson learned. 

Saturday, May 3, 2014

And then there were wheels...


Keeping in mind that these wheels are about 40 years old, they are in amazing condition. The alloy is scraped and bruised and discolored in places but they are perfectly straight with no cracks. I am not going to polish them. The spokes are straight and true, and they needed nothing more than some steel wool.

Like the frame, these wheels are a testament to the fundamental goodness of the TY's. It's fun to encounter the occasional bit of magnesium. If you own one of these things, give it some love. In my case, I spent a couple of happy hours cleaning off the accumulated mud and sand. The wheel bearings turn freely, so these are ready to be put aside until later. 

First, you have to take it apart


This is the easiest, cheapest and most rewarding part. This bike had been imported from Canada in the mid-1970's. I bought it for my son in the mid-1990's. Now it was coming apart in 2014. Needless to say, it was more than a little filthy. 

As you can see, this is a complicated frame. Lots of brackets, nooks and crannies, and lots of recesses filled with 40 year old Canadian mud and California/Mexican sand. The amazing discovery is that despite the moisture, and its obviously hard life, there was no corrosion. Just the very slightest bit of surface rust on the swing arm and up near the headstock (where a little tiny recess for some tools turned up). It cleaned up beautifully. After probably 20 hours of work with steel wool (not available in Mexico!) and wire brushes it is ready to go. Just prime and paint when the time is right.

Friday, May 2, 2014

This is where it began...


The First Project

This is not my first project ever, but it is the first project for this blog. I literally tried to give this bike away. I contacted one of our local gringo newspapers that offer free ads. I simply asked for offers and offered to send pictures via e-mail to interested parties. Three people responded. None even made an offer. The bike had problems. For example the kick-starter had punched a hole in the in the clutch side crankcase cover, and the bike would not start. Obviously it was dirty and the tupperware fenders had seen better days.

One guy said he might make an offer if I brought the bike to him for his inspection. For me that would have been a round trip of over 100 miles. I declined. Instead, after reviewing my options I decided to do a complete mechanical and cosmetic restoration. So....here we go!